Configure Google reCAPTCHA
This guide shows how to integrate Google reCAPTCHA into your applications, which allows you to verify and prevent bots from accessing critical functionalities. It can be used with the Button widget to prevent bots from interacting with the button.
Prerequisites
- A Google account to access the reCAPTCHA service.
- An active Google Cloud Platform project.
Register reCAPTCHA with Google
Follow these steps to configure reCAPTCHA on Google:
-
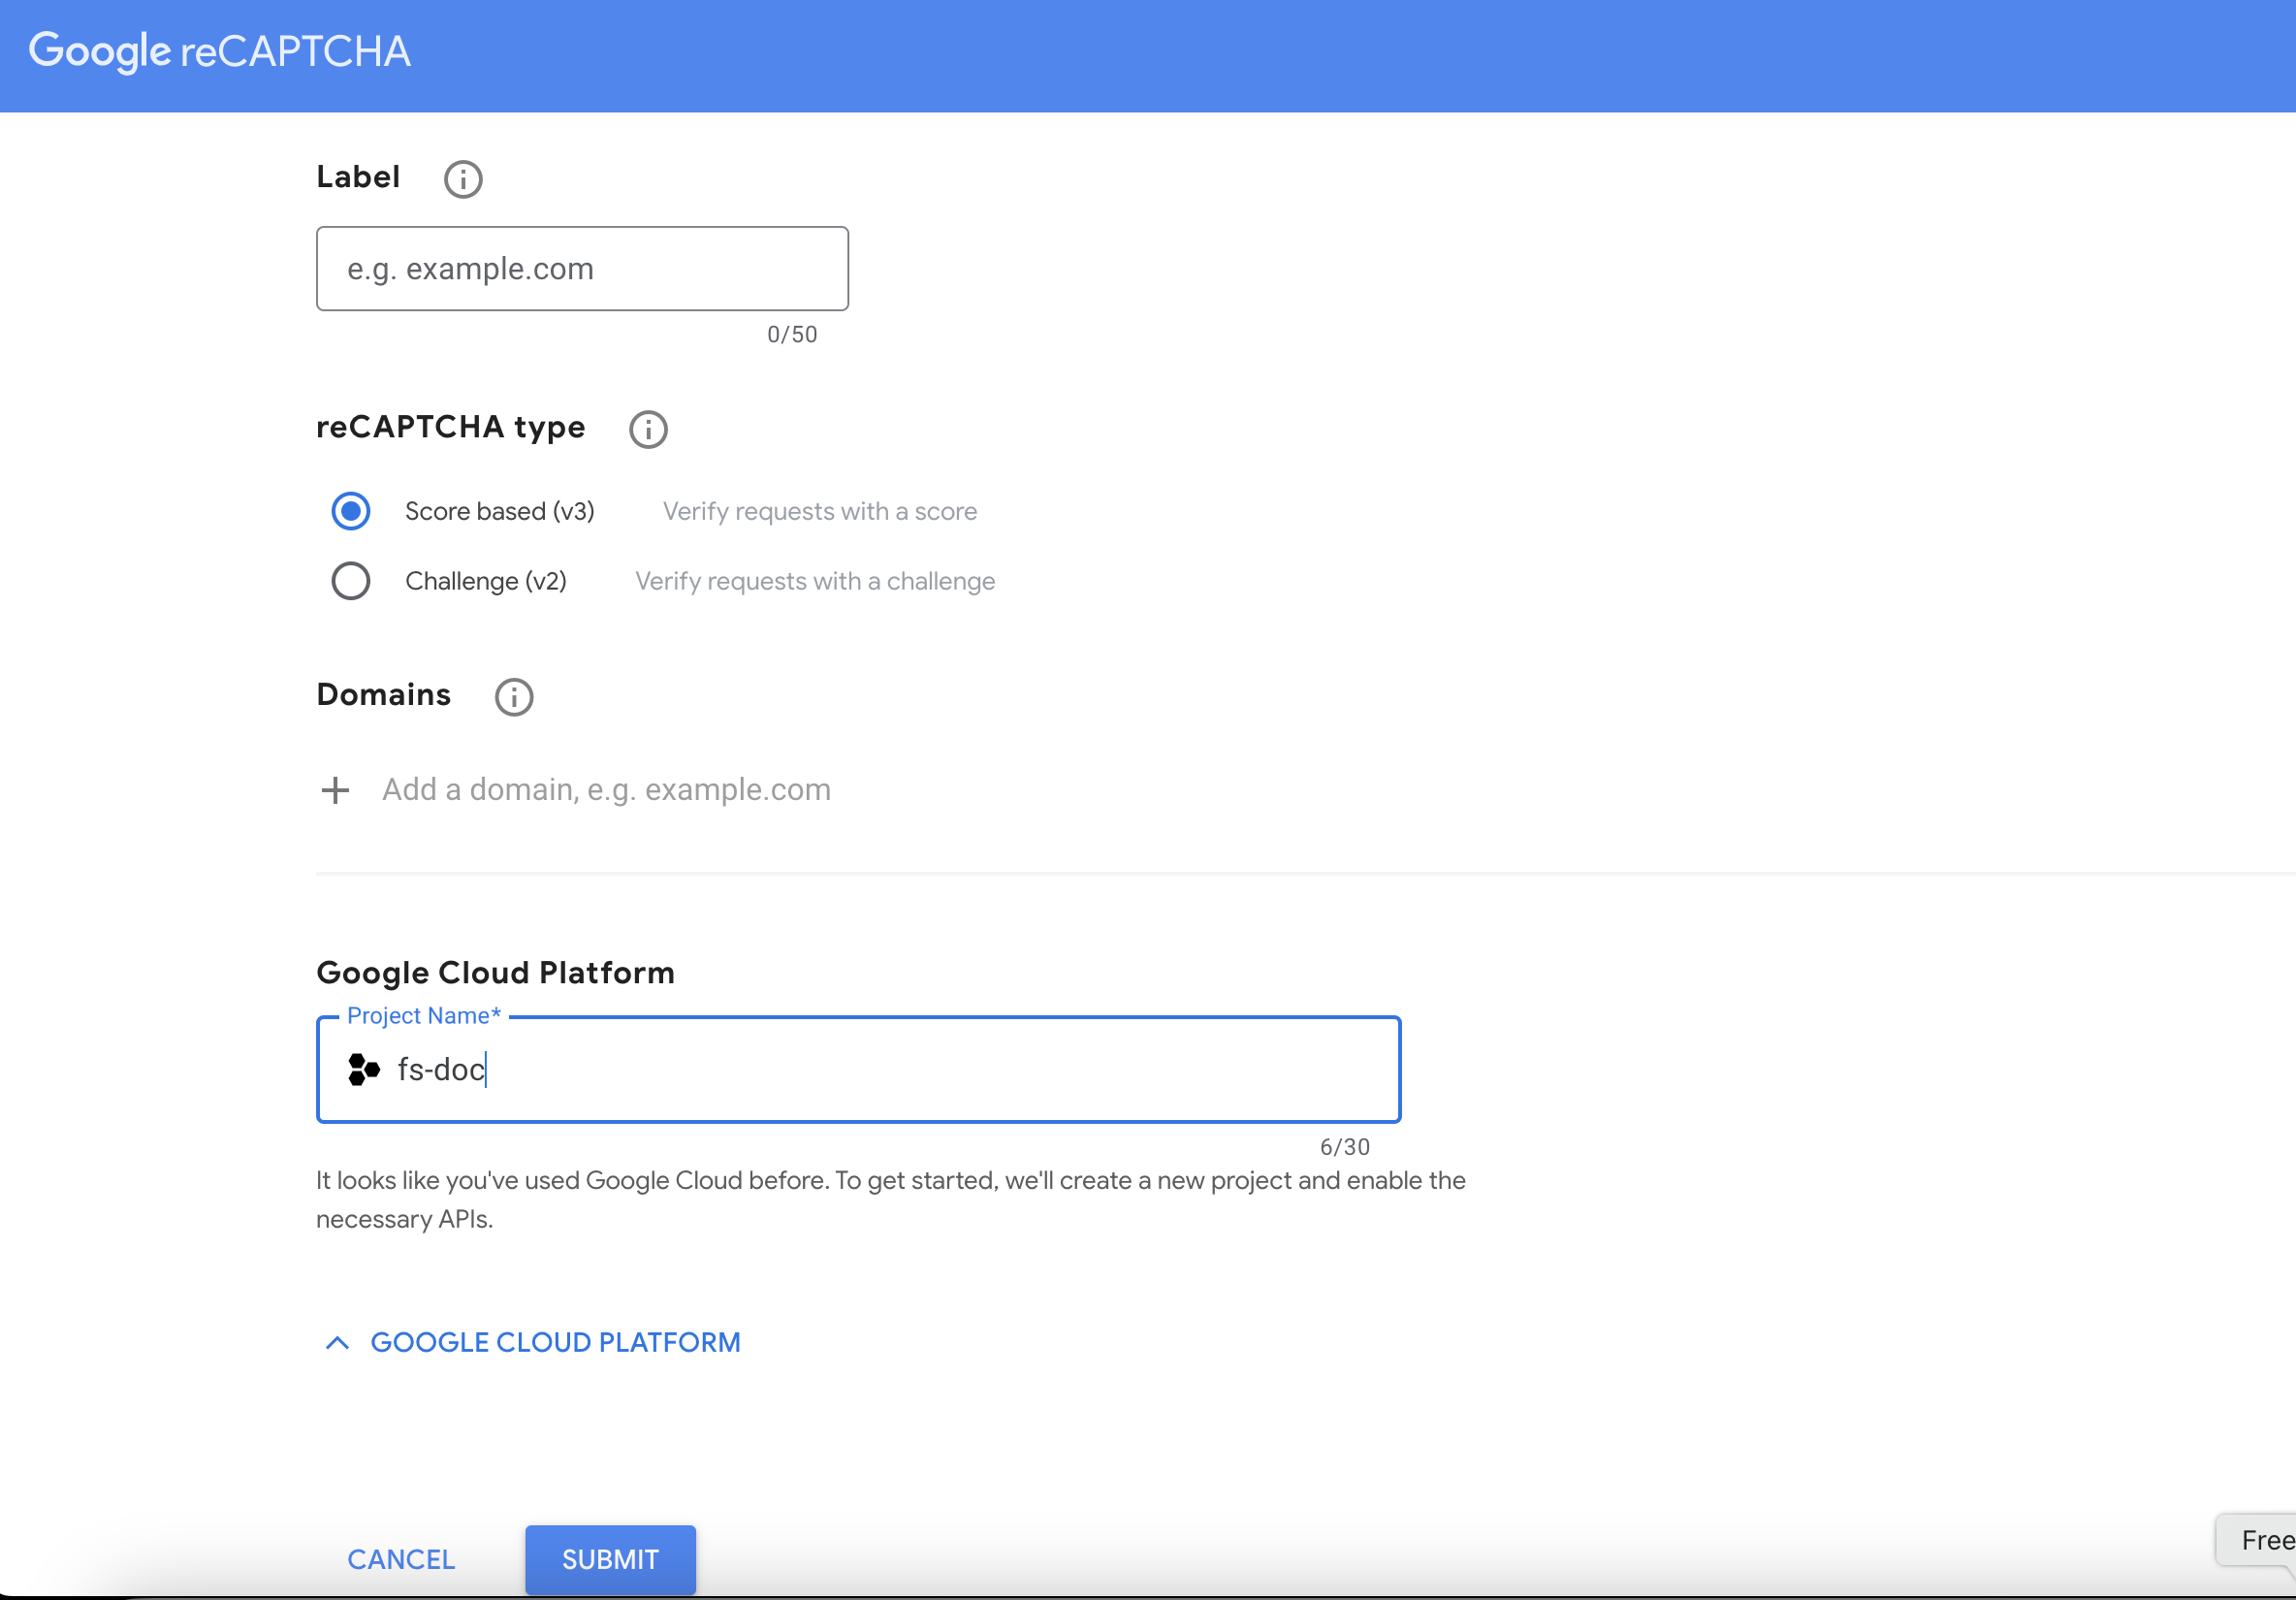
Navigate to the Google reCAPTCHA Admin Console to register your domain and configure reCAPTCHA for your application.
-
Select the reCAPTCHA type:
- v3 (Score-based): Assigns a score based on user interactions to detect suspicious behavior.
- v2 (Challenge-based): Uses challenges like image selection or checkboxes to verify human users.

-
Provide the domain (e.g.,
app.appsmith.com) for which reCAPTCHA is used. -
Choose your Google Cloud Platform project and click Submit.
-
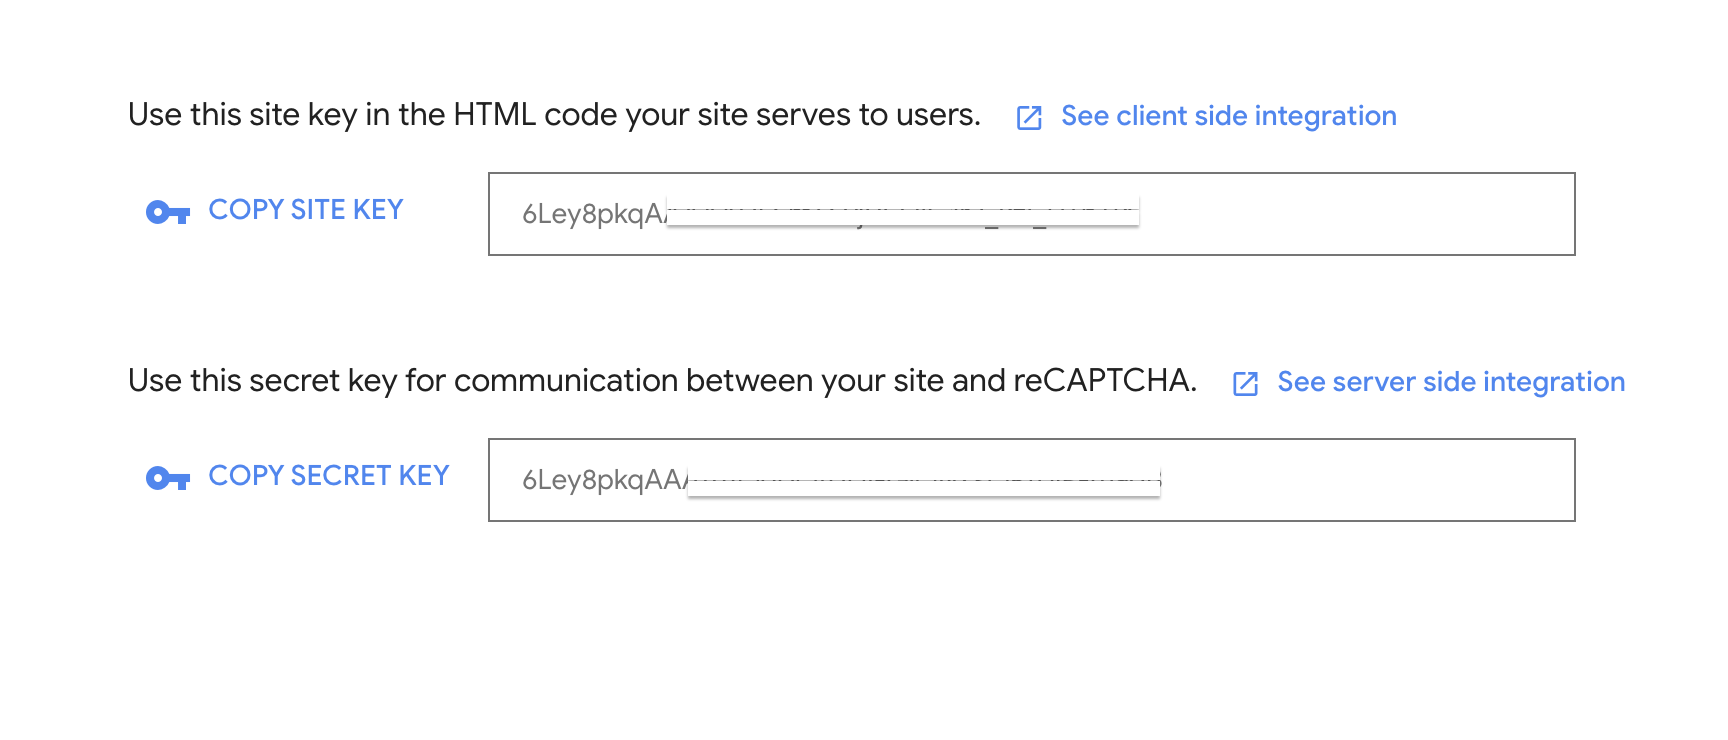
Copy the Site Key and Secret Key provided after registration.

Set Up reCAPTCHA in Appsmith
Follow these steps to set up and configure Google reCAPTCHA in Appsmith:
-
Drag a Button widget onto the canvas.
-
In the Button widget's properties pane, paste the Site Key into the Google reCAPTCHA Key property.
-
Select the reCAPTCHA type (v2 or v3) from the reCAPTCHA version property.
-
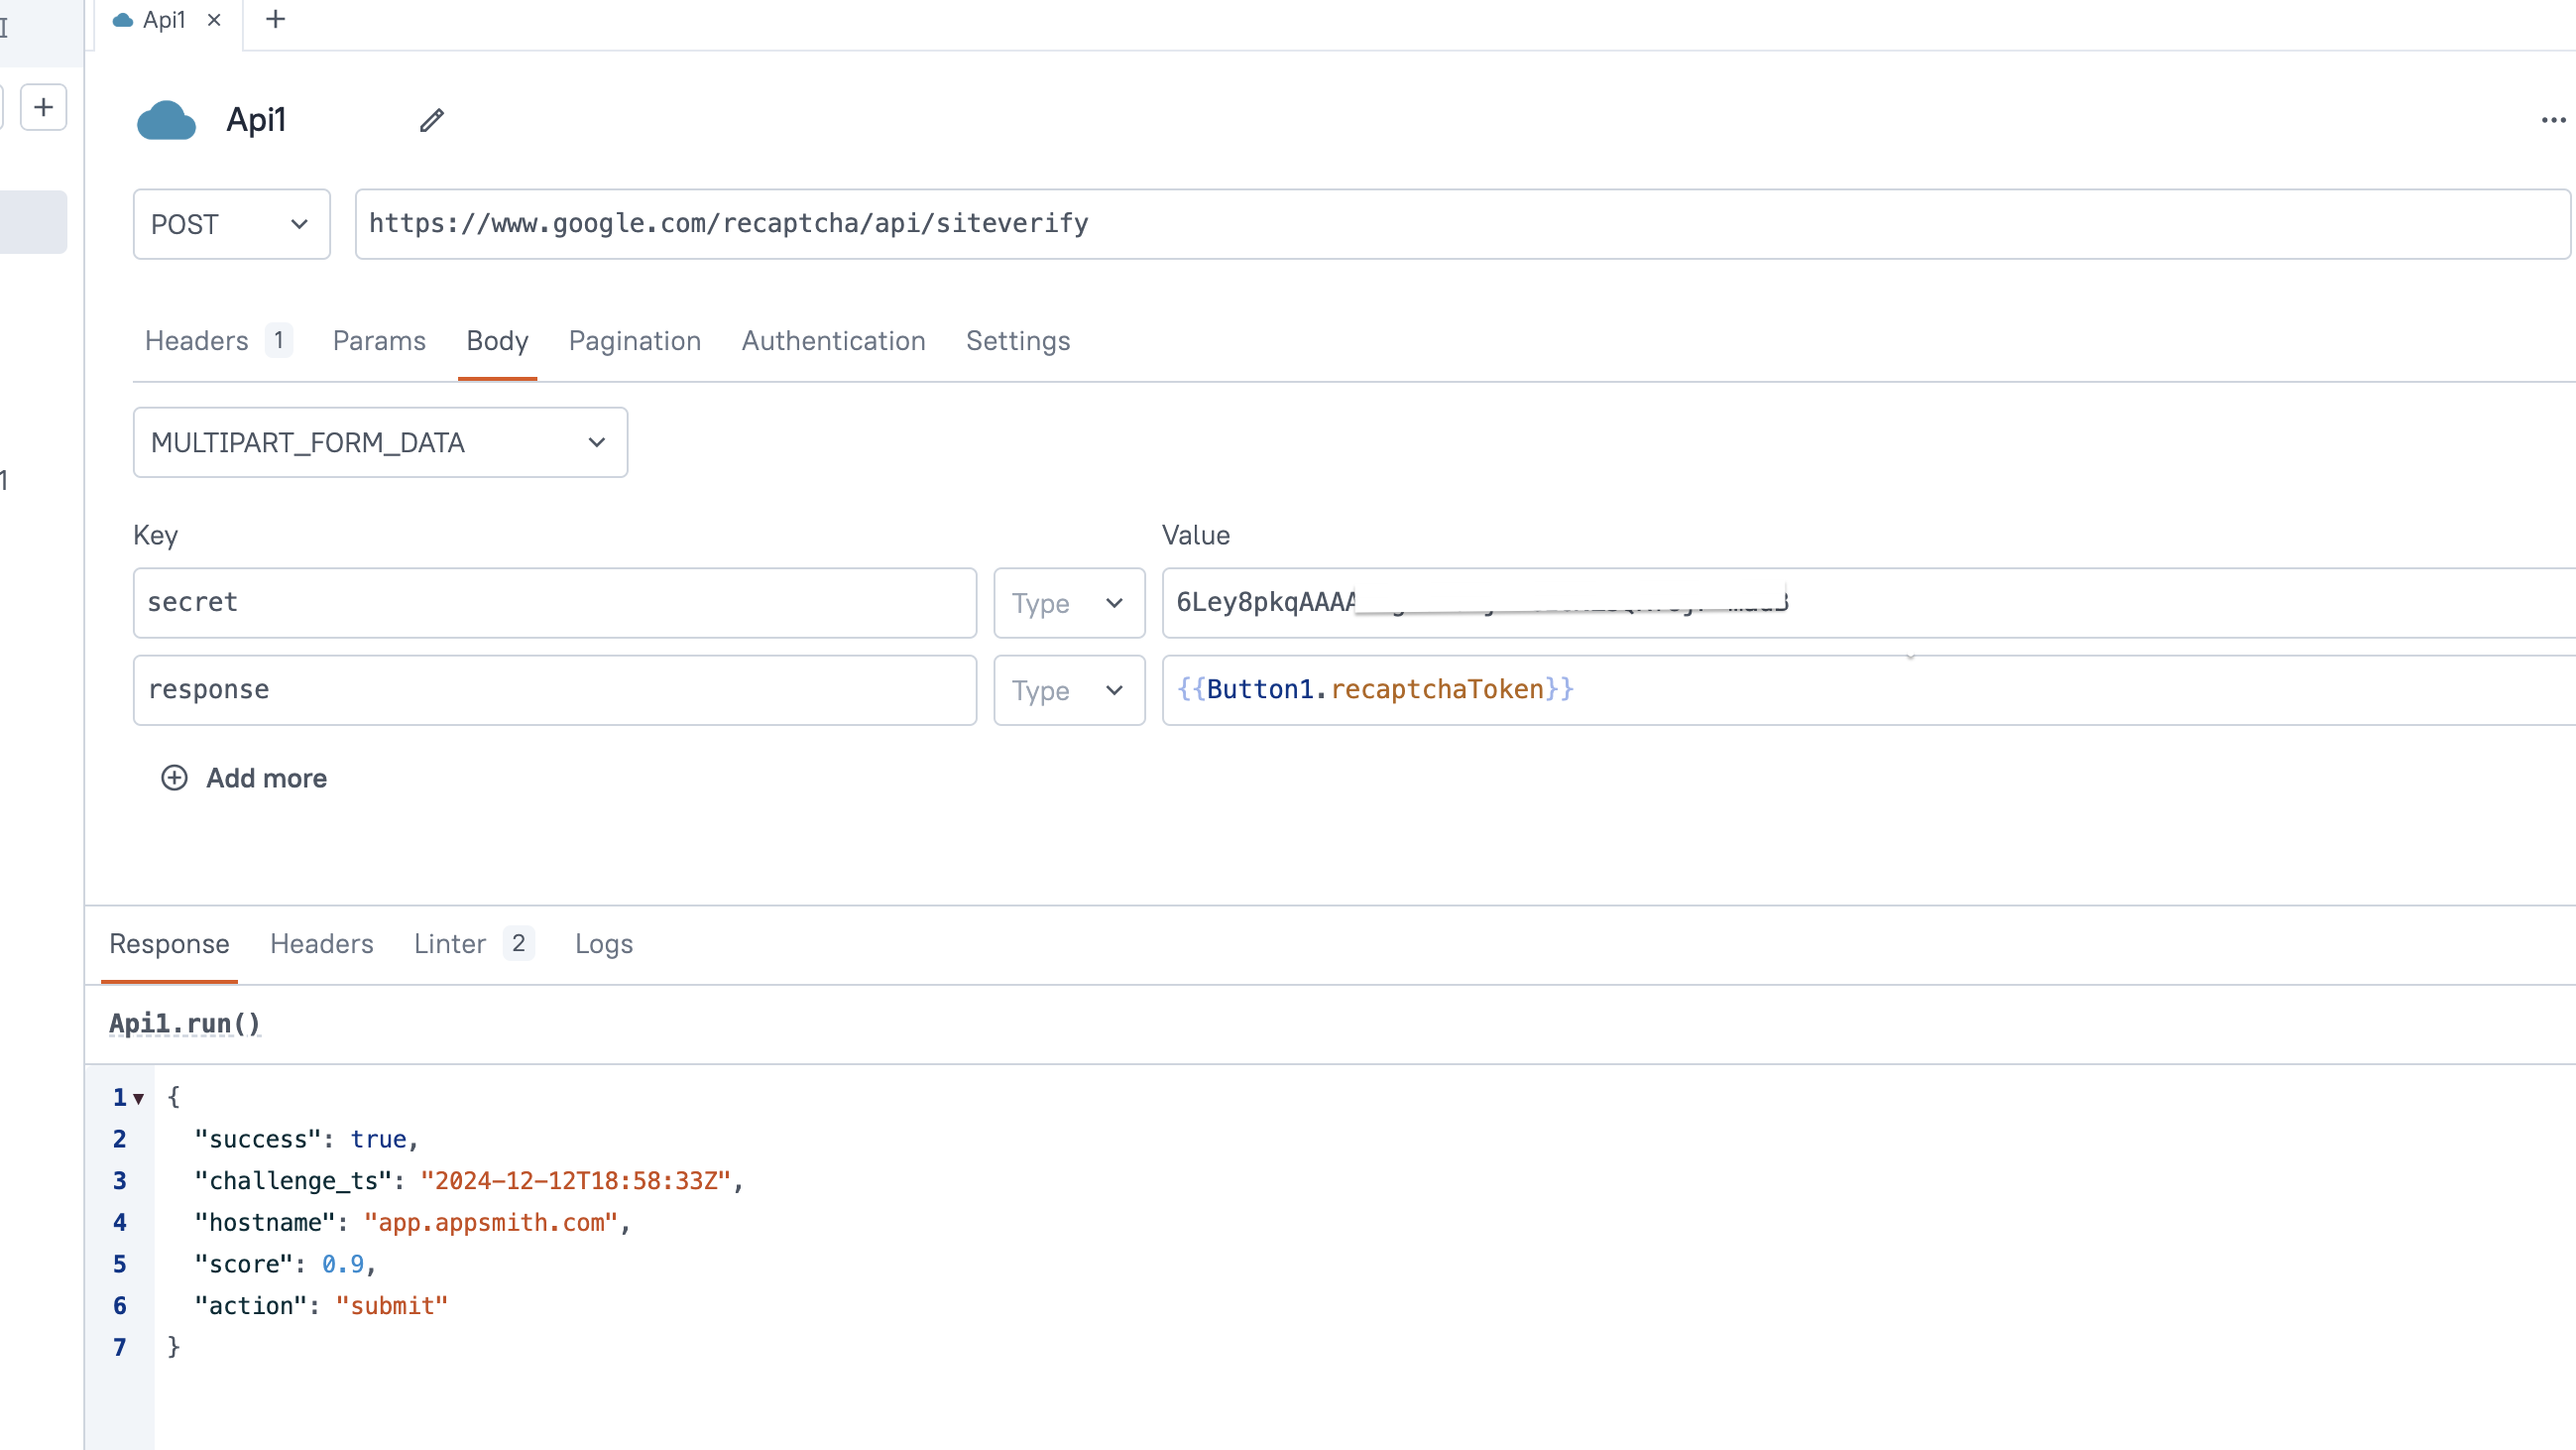
To verify that the reCAPTCHA response was generated by a human, you need to create an API query that sends the reCAPTCHA token, along with your Secret Key, to Google’s verification endpoint.
To do this, create a new API query in Appsmith that posts the token and secret key.
//API Endpoint:
POST https://www.google.com/recaptcha/api/siteverify

- In the Body tab of the API query, select Multipart/form-data as the body type and add the following parameters:
secret: Add your reCAPTCHA Secret Key as a key-value pair.response: Bind the reCAPTCHA token from the Button widget'srecaptchaTokenproperty, like:{{Button1.recaptchaToken}}
The secret parameter is necessary to authenticate the request to Google, and the response parameter holds the token that was generated after the user interacted with the reCAPTCHA widget.
- After setting up the API query, run the query to trigger the verification. The response indicates whether the reCAPTCHA is successful and provides the score if using v3.
Example:
{
  "success": true,
  "challenge_ts": "2024-12-12T18:58:33Z",
  "hostname": "app.appsmith.com",
  "score": 0.9,
  "action": "submit"
}
- Set the Button widget's onClick event to run the API query. Based on the response, execute the appropriate action if the verification is successful, or handle any errors if the verification fails.
Example:
{{recaptchaVerificationApi.run().then((response) => {
  if (response.success) {
    showAlert('Validation Successful', '');
  } else {
    showAlert('Validation Failed', '');
  }
}).catch((error) => {
  showAlert('API Error: ' + error.message, '');
});}}